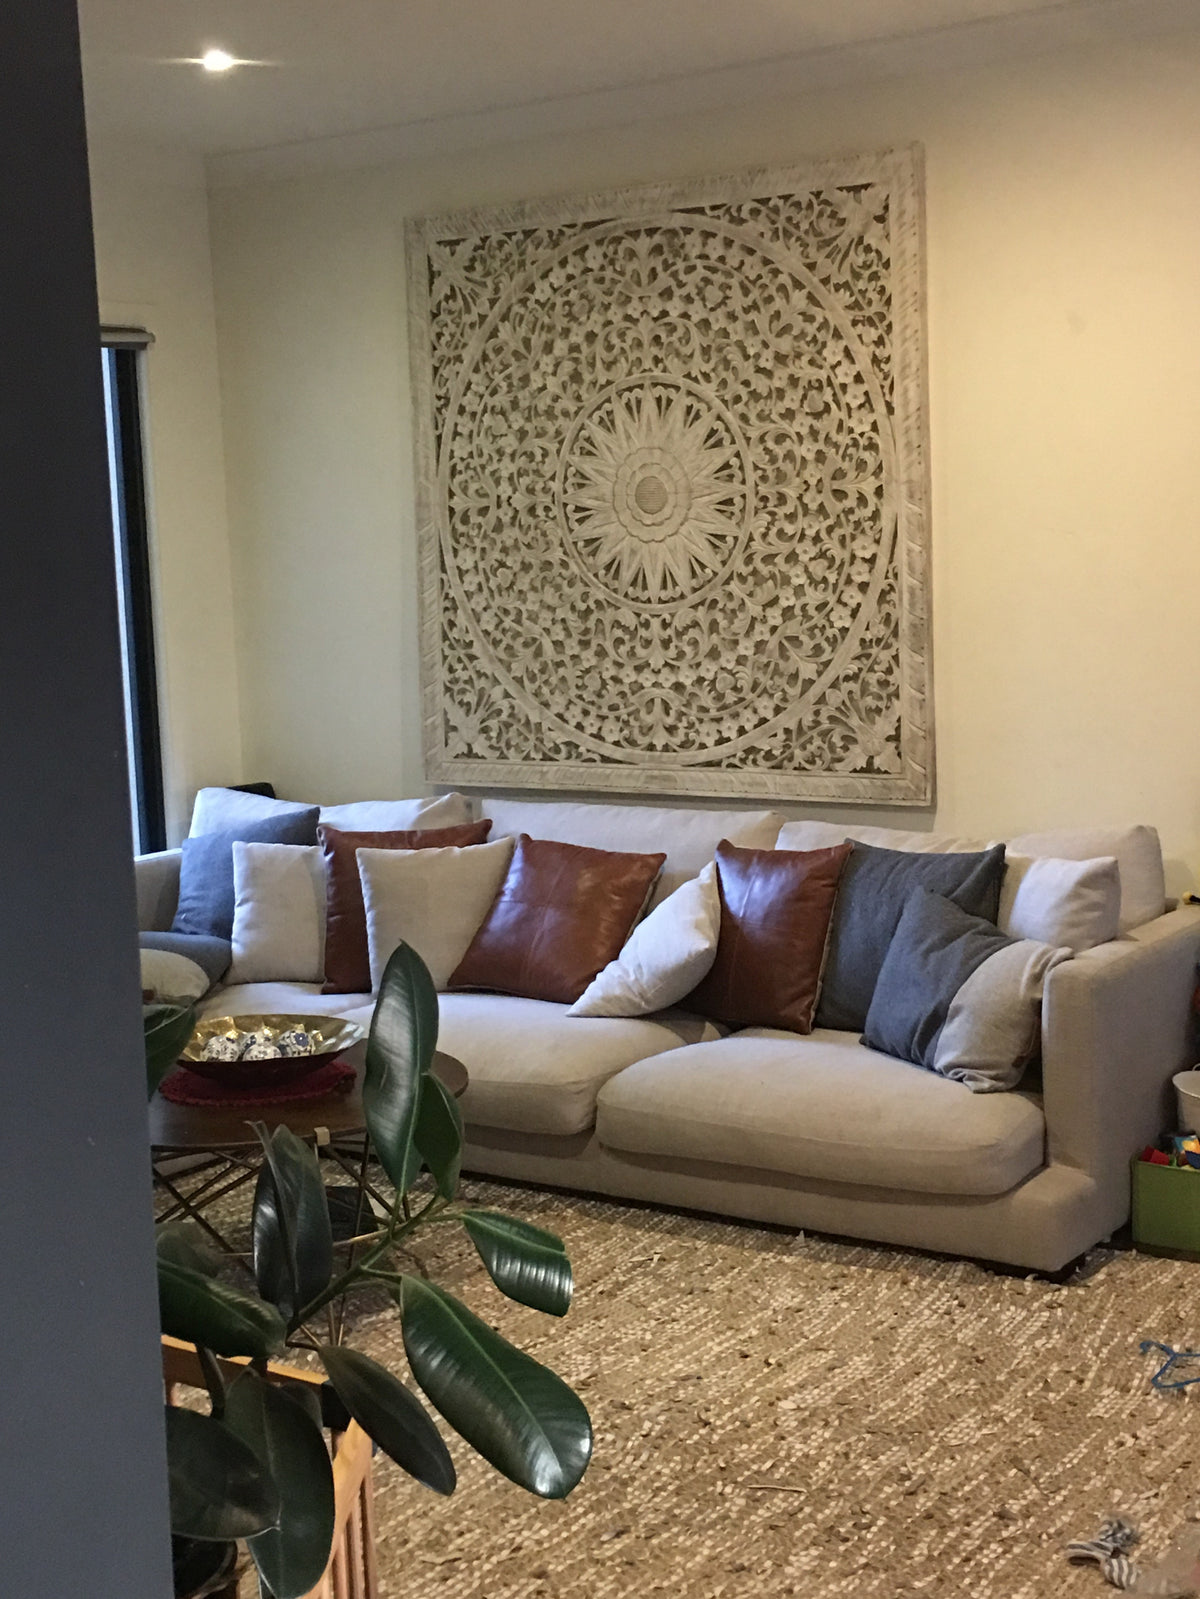
Mounting your new Bali Mystique Headboard to a wall

Attaching your new standard headboard or Mandala Headboard to the required wall Isn't difficult however, there are some steps you will need to follow.
It is important that your headboard is attached to the wall in a firm manner to ensure it cannot come loose possibly causing damage or injury. In addition, a well secured headboard will not warp or twist over time.
There are two basic ways of attaching these headboards to a wall.
Direct fixing:
The simplest and most common way is to screw through the headboard directly to the studs. This method requires 4 fixing points being two at the top and two at the bottom. The screws should be positioned in a way that they are through the main frame of the headboard. Pre-drill the headboard prior to void any damage. A stud finder is a great help in finding the studs behind the plaster to ensure the headboard is screwed into a solid fixing point.
French Cleat:
The second method allows the headboard to be removed from the wall quite easily and, allows the headboard to be moved marginally in a horizontal direction allowing you to position the headboard perfectly in line with your bed.
A French cleat comes in many variation however, a metal type like the photo below is the best option for these headboards.

These cleats are relatively inexpensive and can be found at most major hardware stores. If your headboard is between 150cm to 200cm, you will require a cleat that is approx. 80cm in length so as it can be screwed across 2 studs.
First, measure and place a mark on the wall from the floor to the height you want your headboard positioned. TIP- Use masking tape to mark the wall which can then be easily removed when finished.

Next, Using a stud finder, mark 2 of the studs that are relatively central to where the headboard needs to be positioned at the correct height. Note, the cleat does not have to be 100% central horizontally as you will be able to position the headboard left or right when complete.

Next, attach the cleat to the wall bridging the two studs marked. The screws should be fixed securely into the studs using 40mm wood screws. Ensure that the cleat mounted to the wall has the leading edge facing upwards like the picture below.

Next, attach the matching cleat to the headboard. This needs to be positioned so as the cleat is fixed to the frame on the rear of the headboard. The screws need to be less than the thickness of the headboard so as they do not puncture the front of the headboard. The cleat should be almost flush with the top of the headboard with the leading edge facing downwards like the picture shown below.

Once this is done and you are happy with the fixing of the cleats, it time to hand that headboard! It is always best to have help, 2 people make the job light work. Simply lift the headboard into position aligning both cleats as shown in the picture below.

Once your headboard is hung, check its position from left to right to ensure it is central to where you want it. If it needs to be moved a little either way, simply lift the headboard enough to release from the cleat, the gently slide to the required position.
Feel free to contact us for more info or friendly advice!
